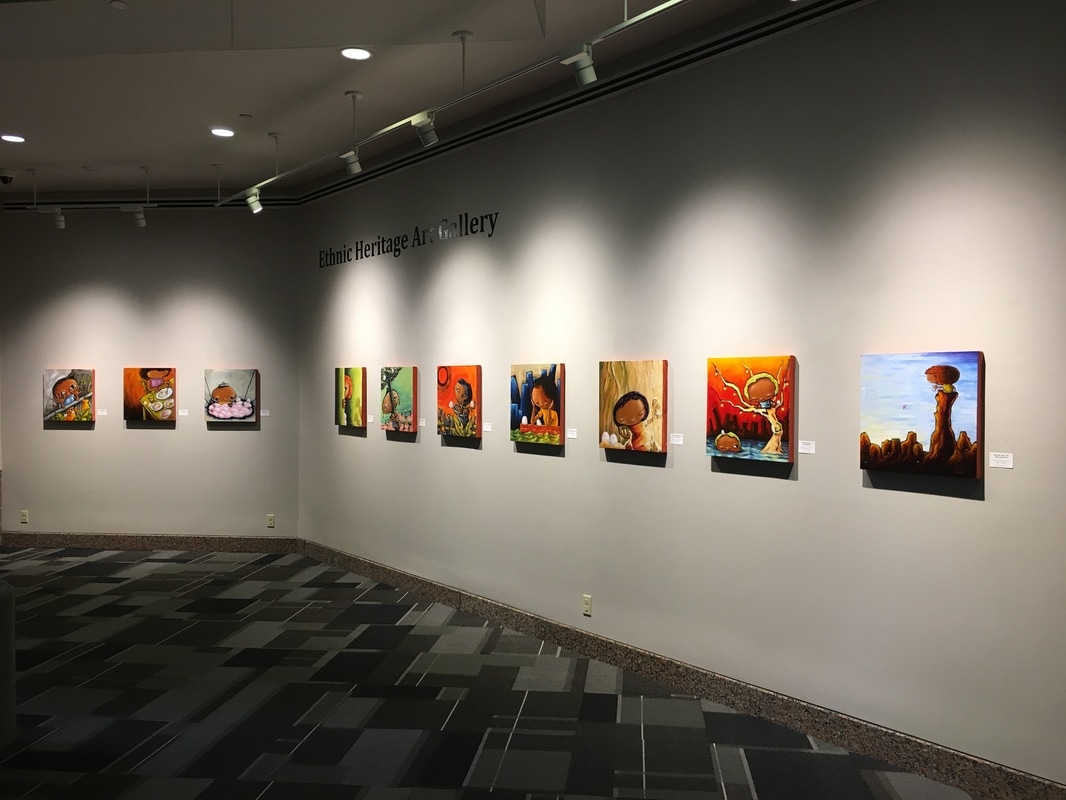
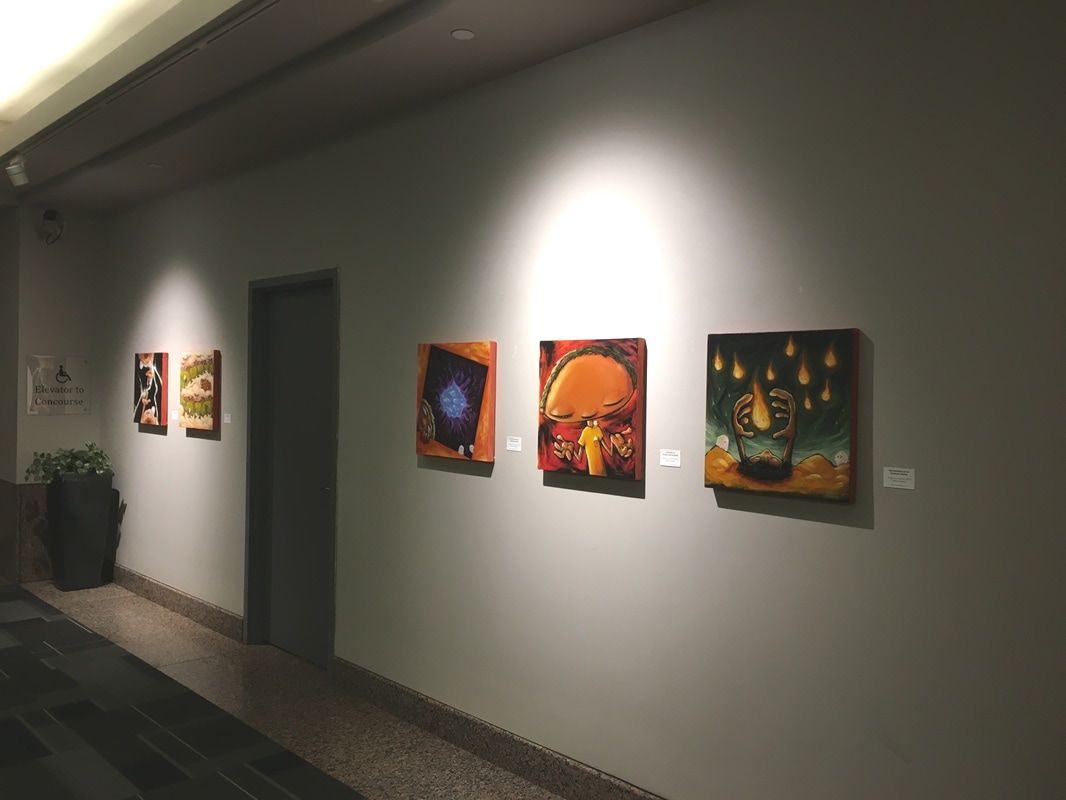
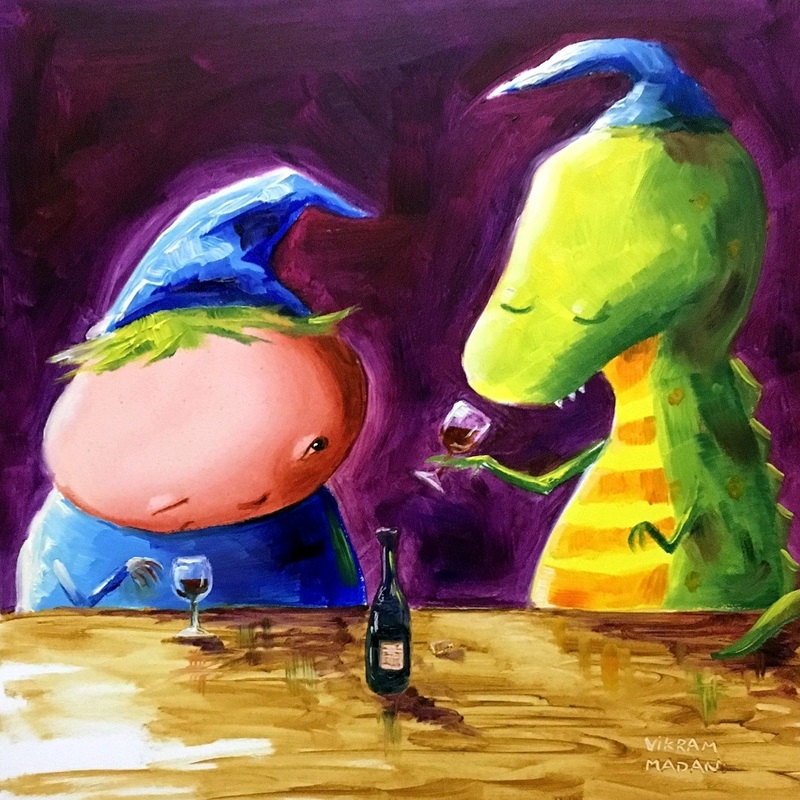
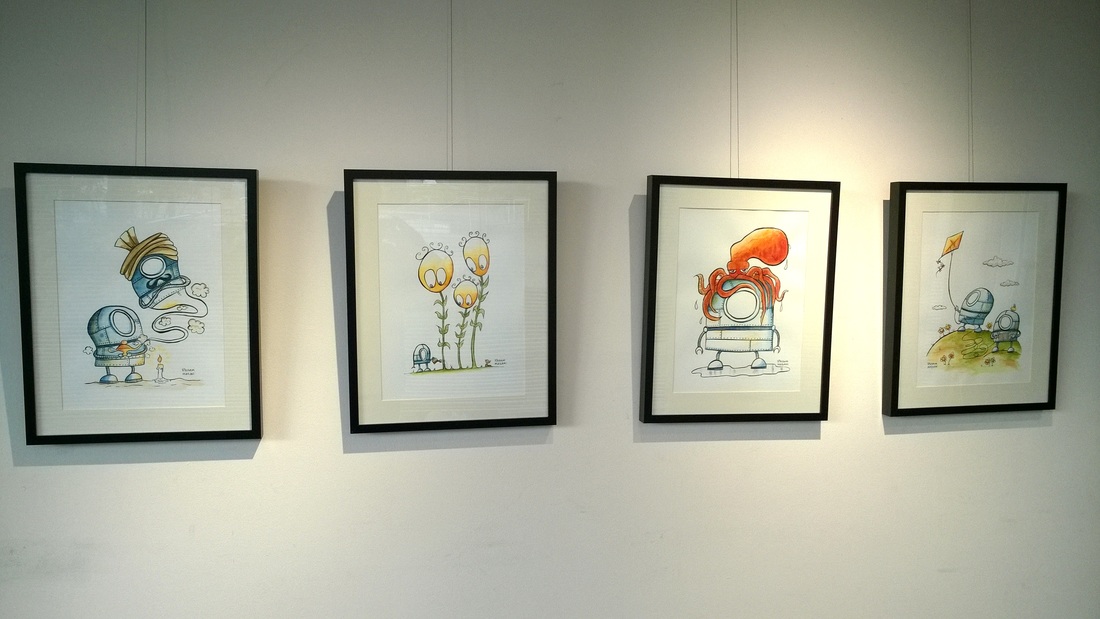
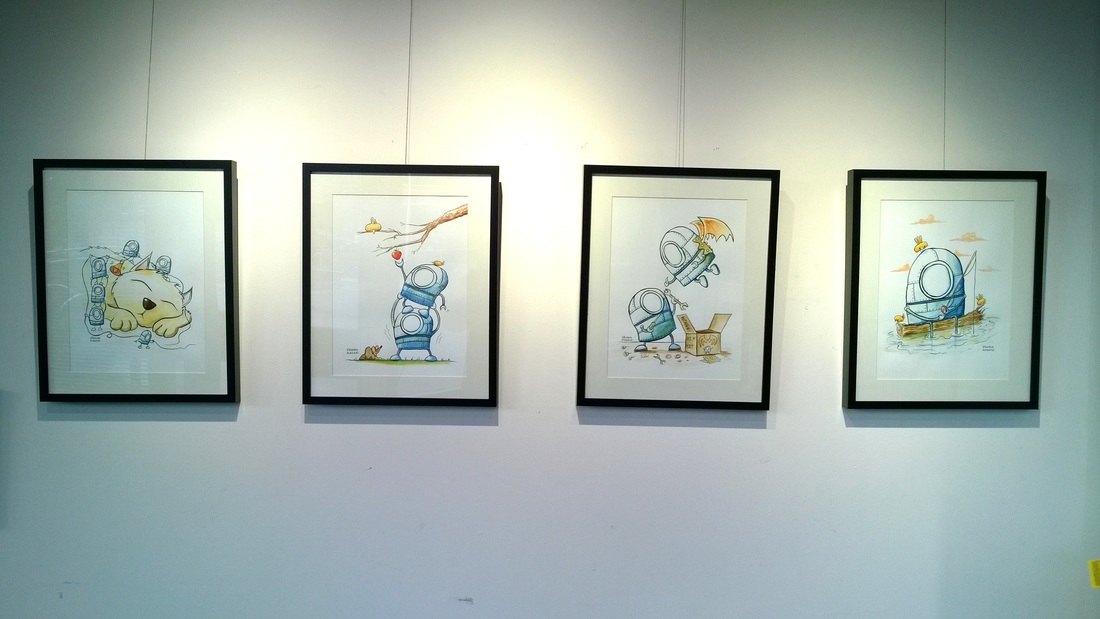
Some more recent additions to my 'Wine Series' of paintings for Wine Lovers
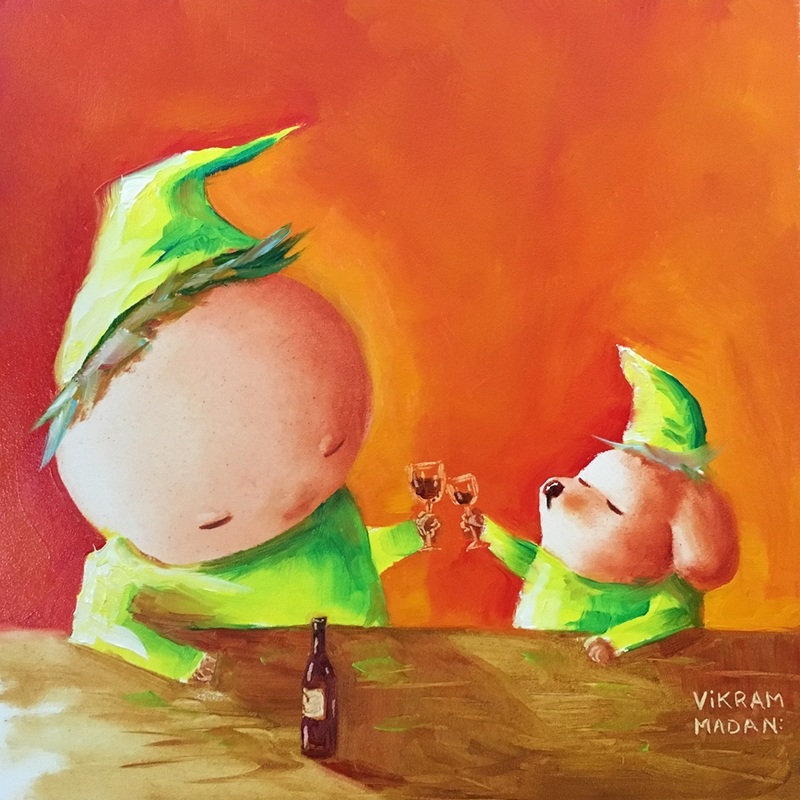
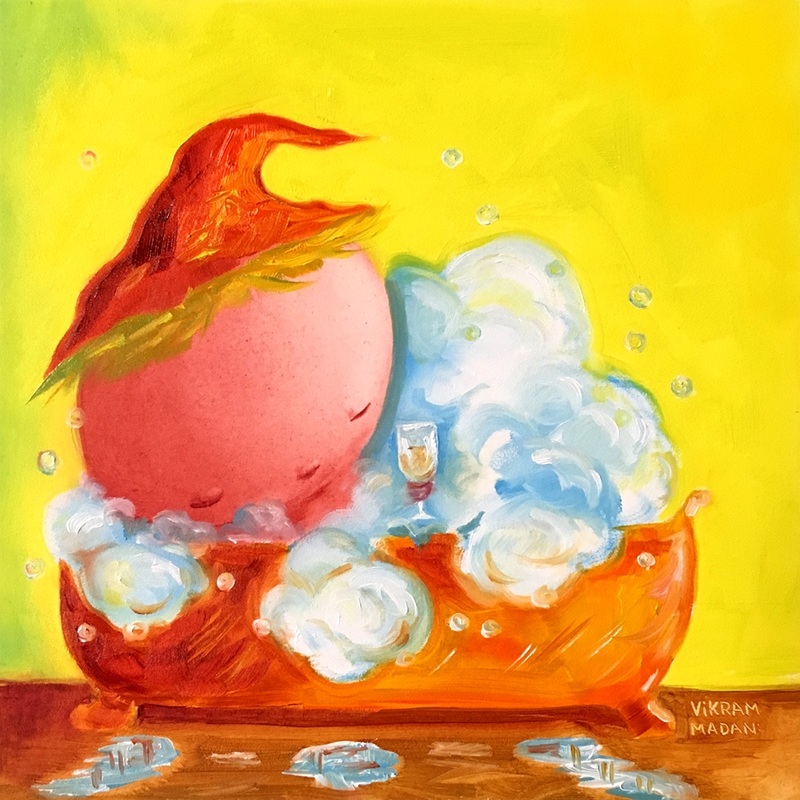
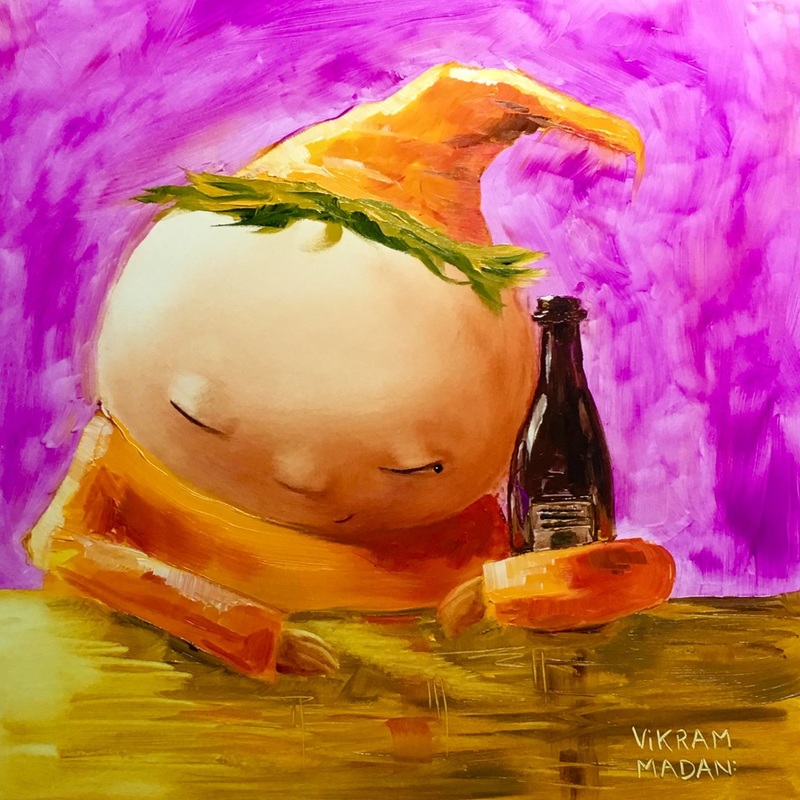
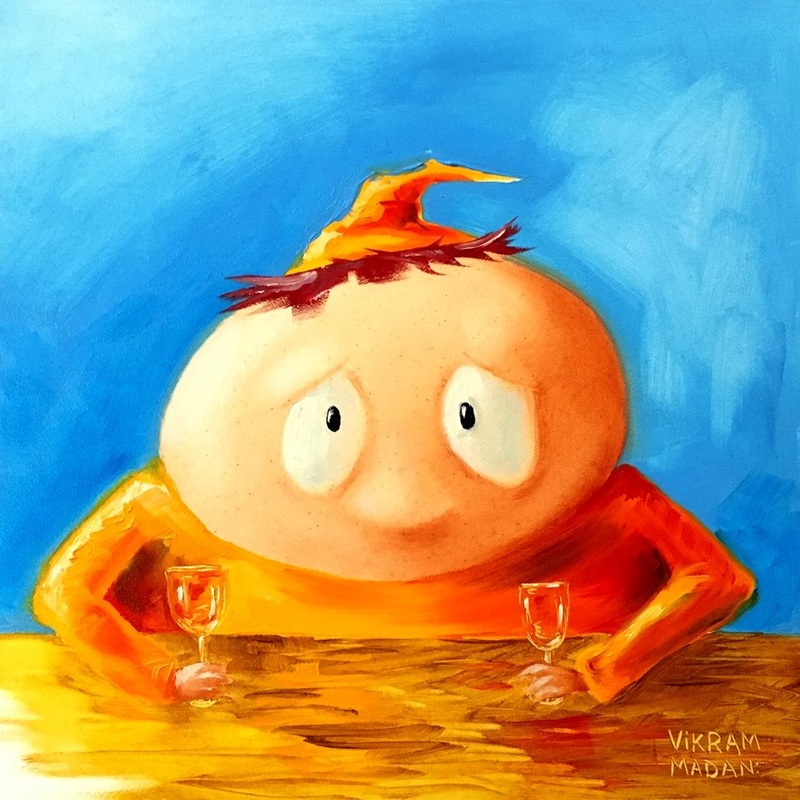
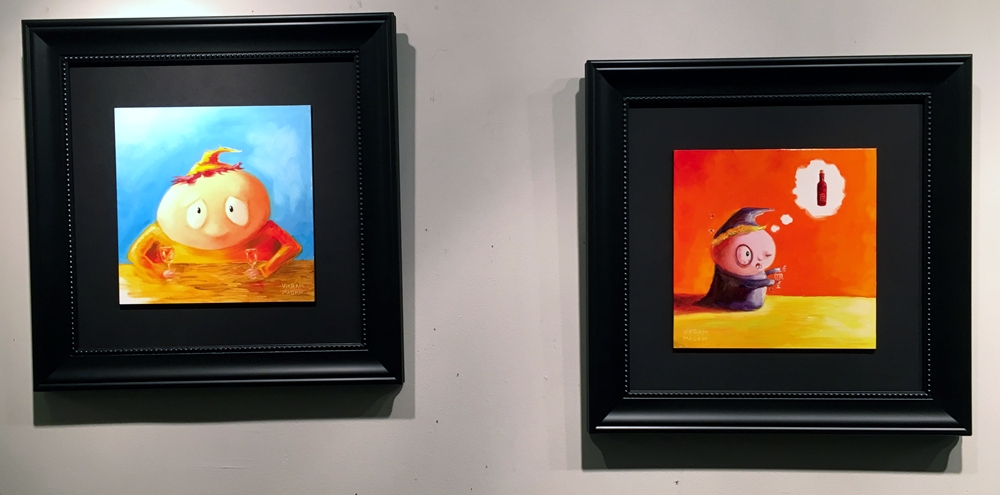
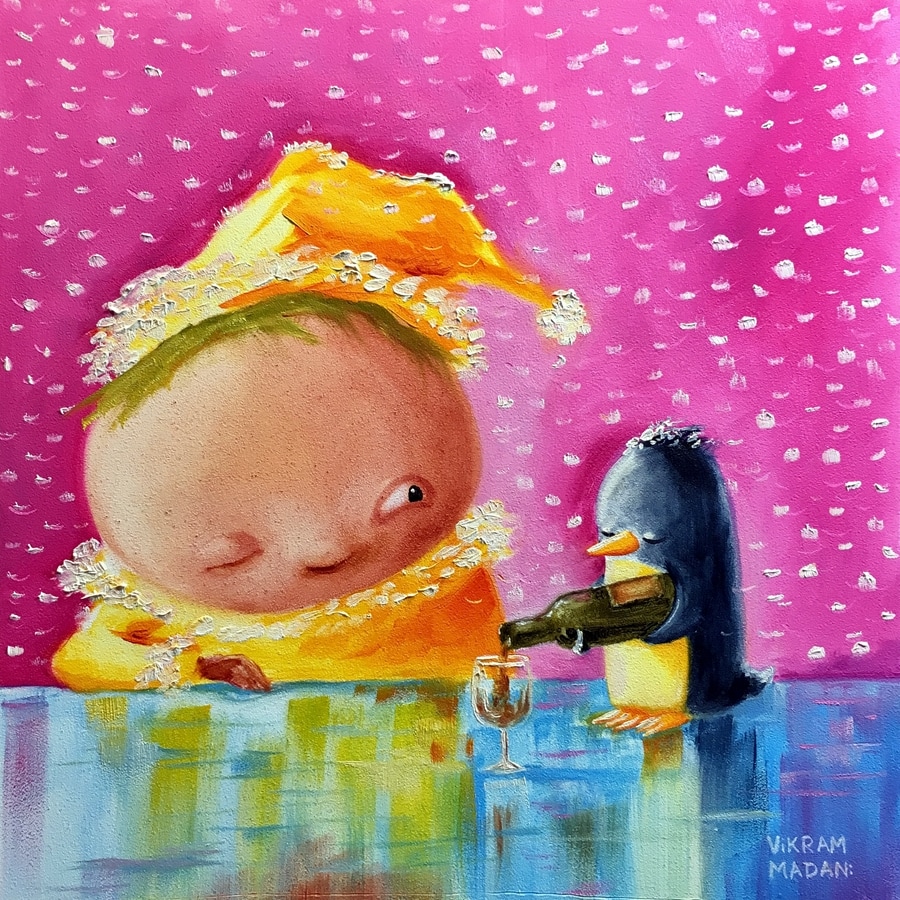 "Extra-Chilled Wine" Oil on Panel, 8"x8" | 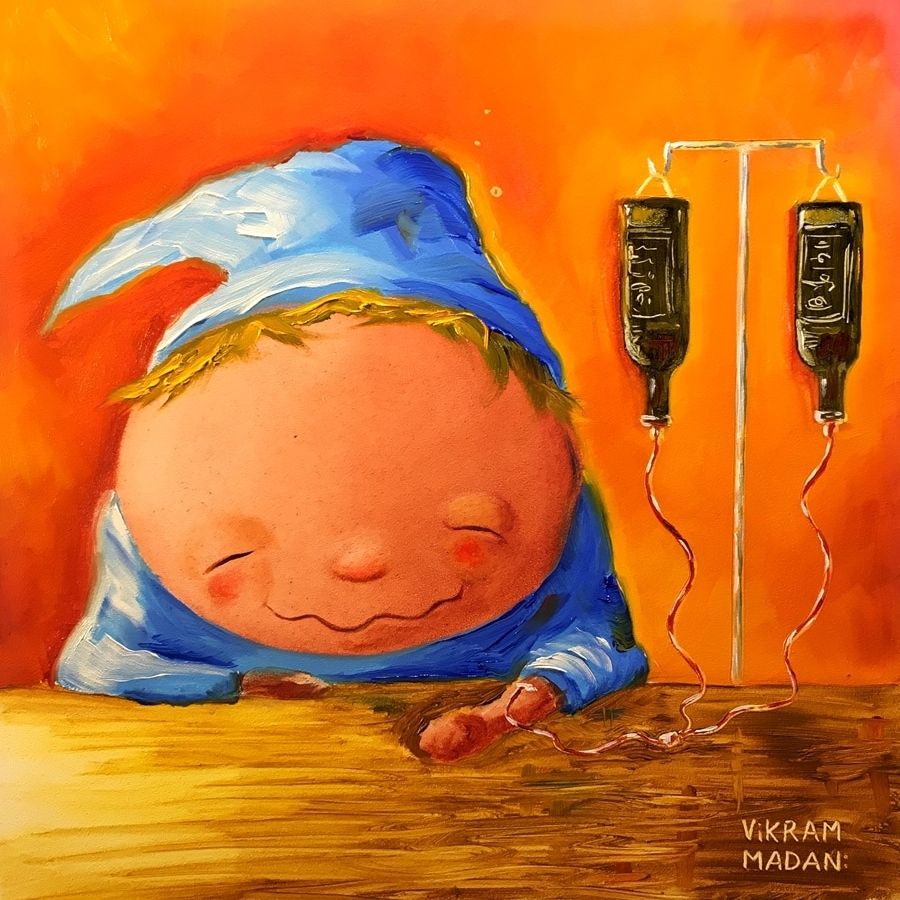 "Emergency Wine Fix" Oil on Panel, 8"x8" |
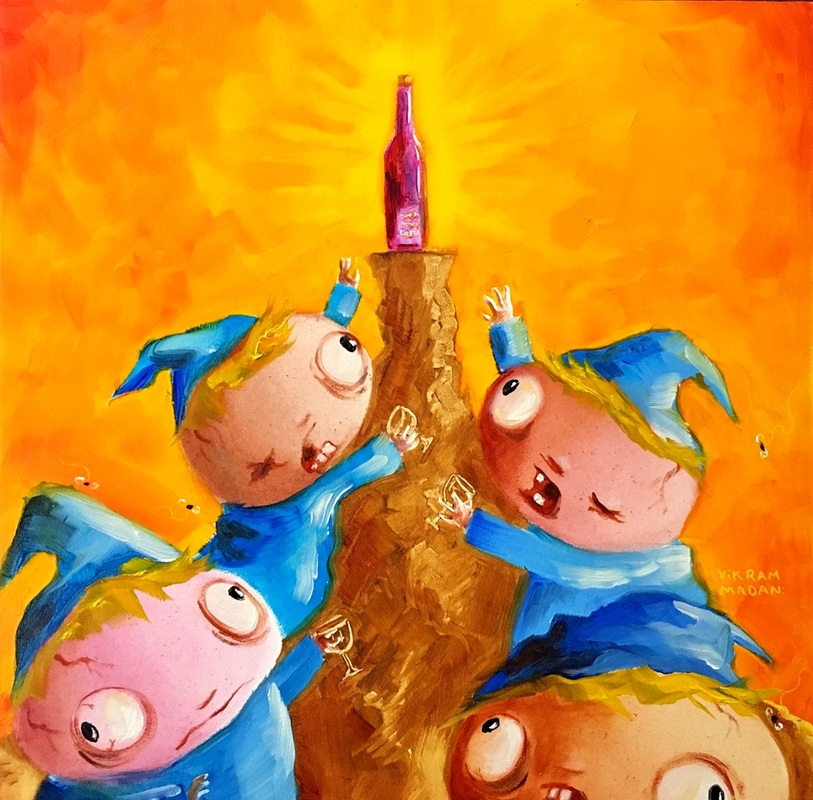
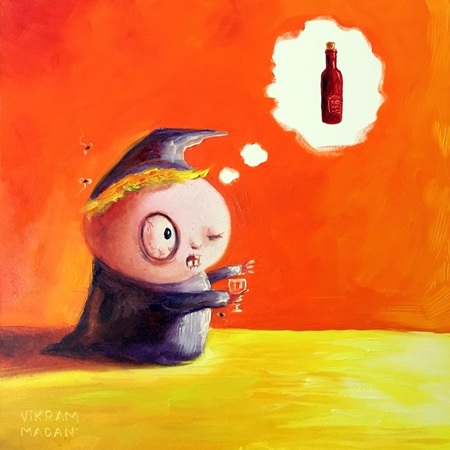
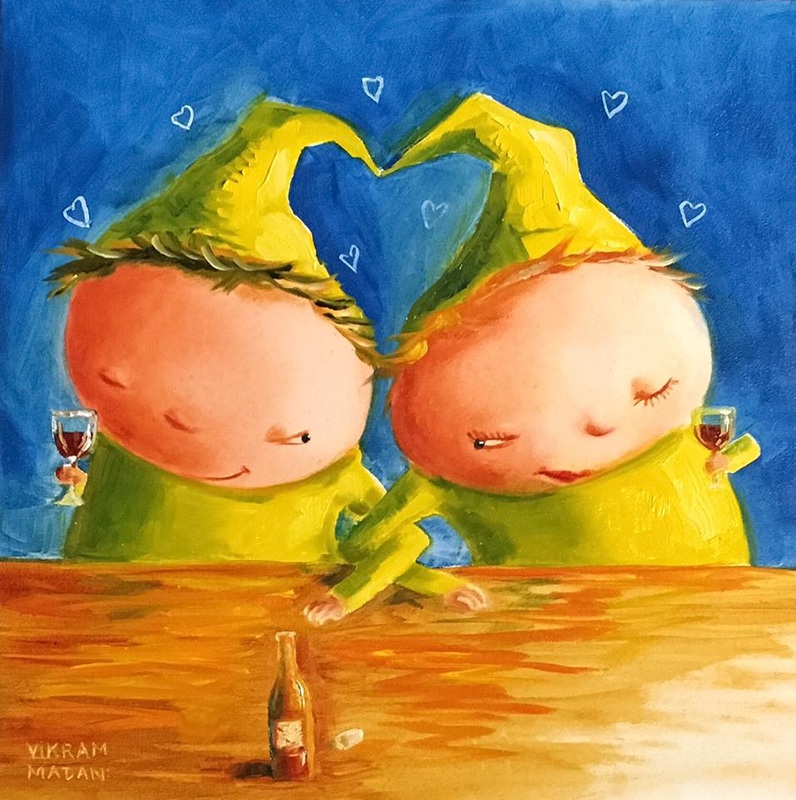
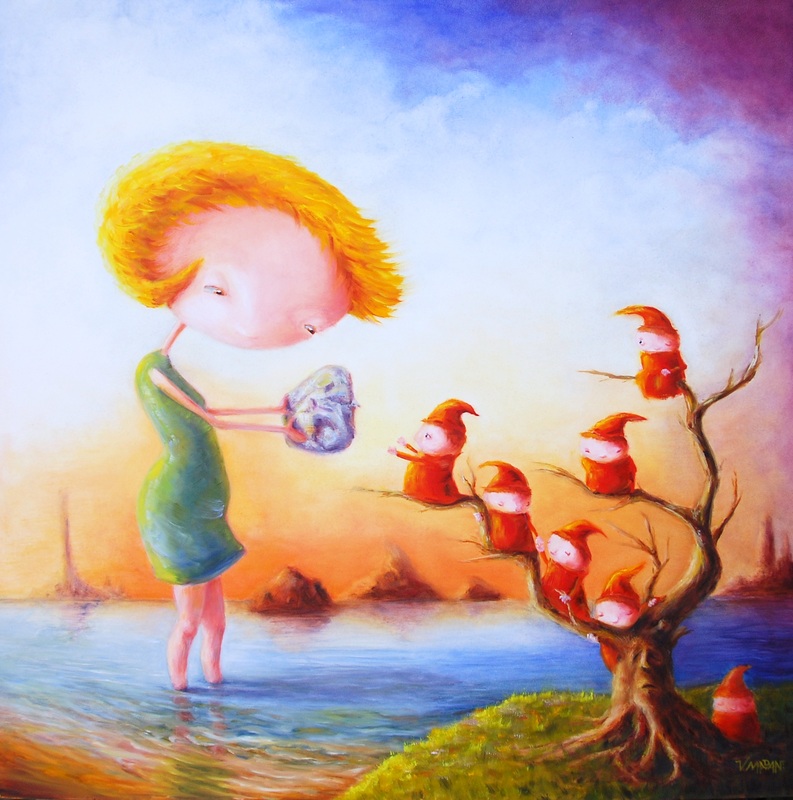
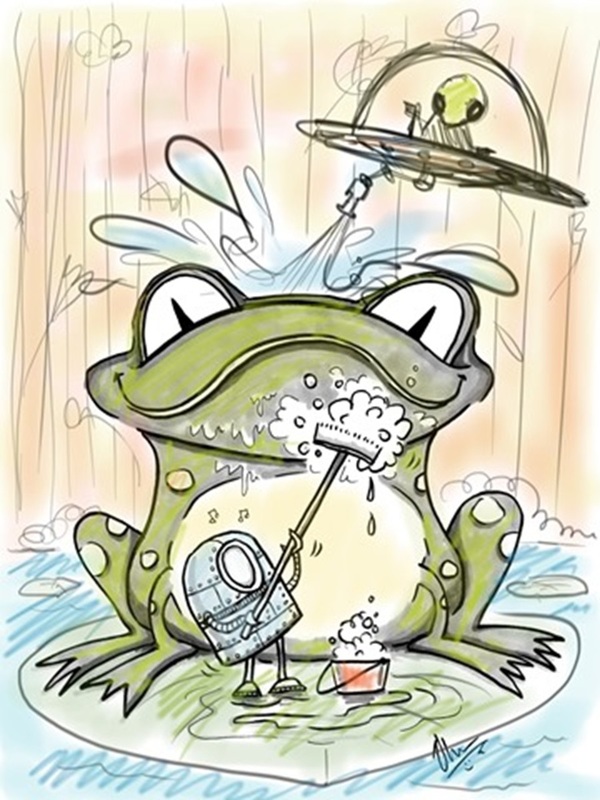
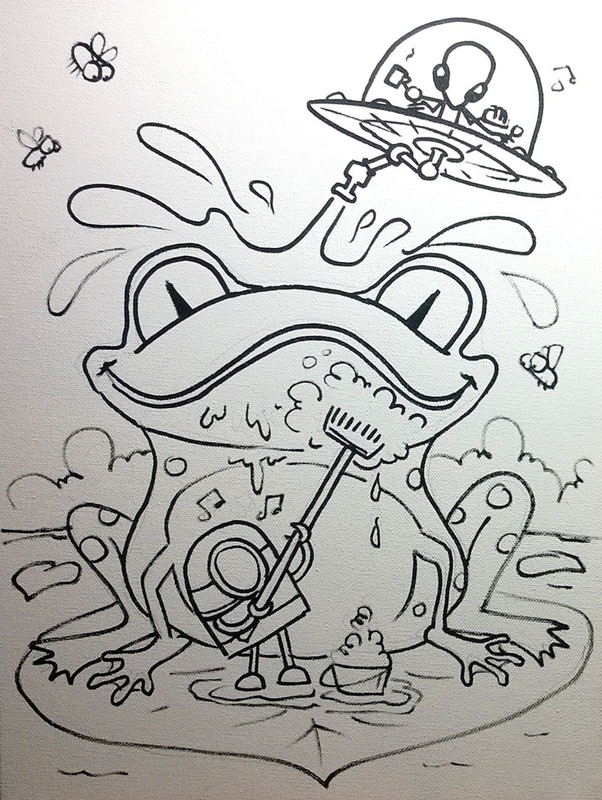
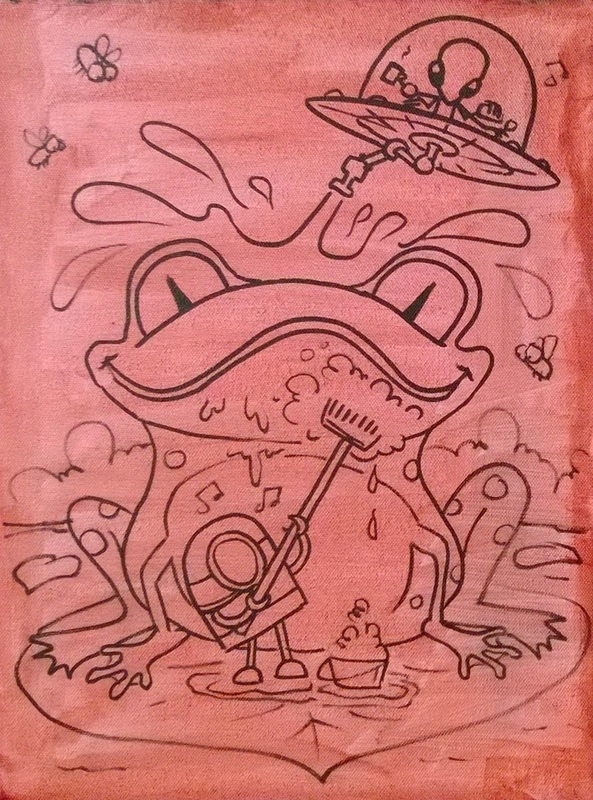
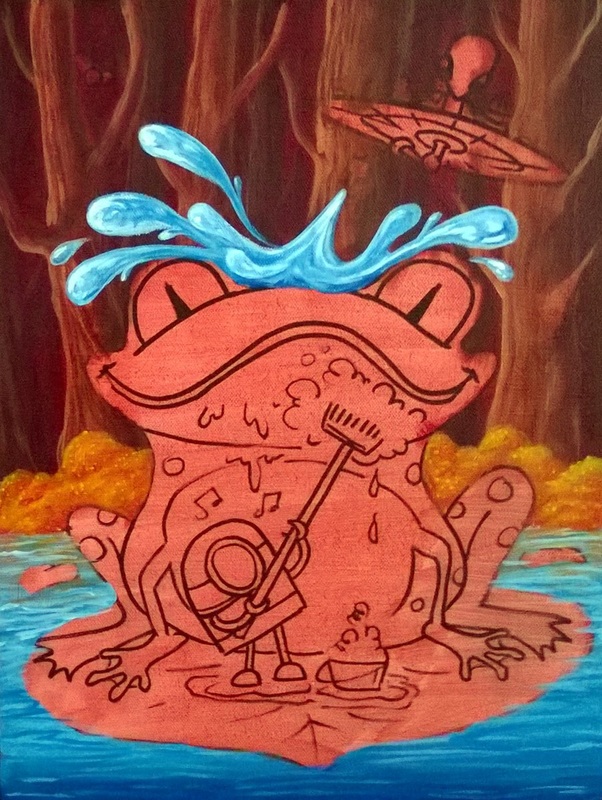
 "Keep Calm and Drink (More) Wine" Oil on Panel, 8"x8" | 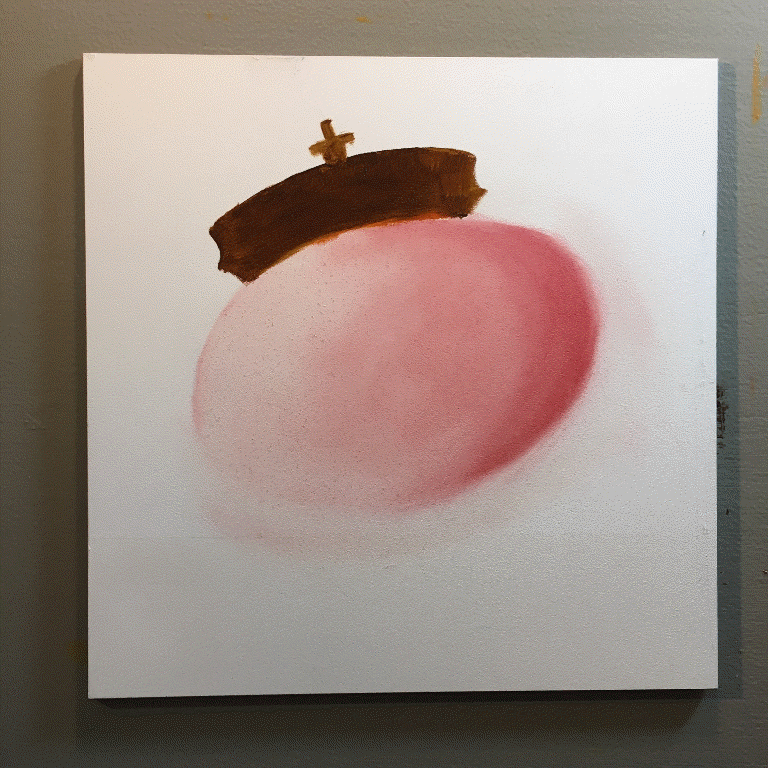 Make a painting in 4 easy steps! |


 RSS Feed